|
|||||||||||||||||||||||||||||||||
| SYNROCK SIMPLE INSET SYSTEM CONSTRUCTION | |||||||||||||||||||||||||||||||||
| The synrock inset system is designed to be very easy to set up. Bolt-on insets require a precise alignment of a t-nut in a backing plate. This is a royal pain if you want to make a wall with lots of insets. Our insets DON'T require a T-nut! Holds screw onto a scrap piece of plywood on back of wall with 2x4's as spacer between wall and backing plate for proper depth. | |||||||||||||||||||||||||||||||||
 |
|||||||||||||||||||||||||||||||||
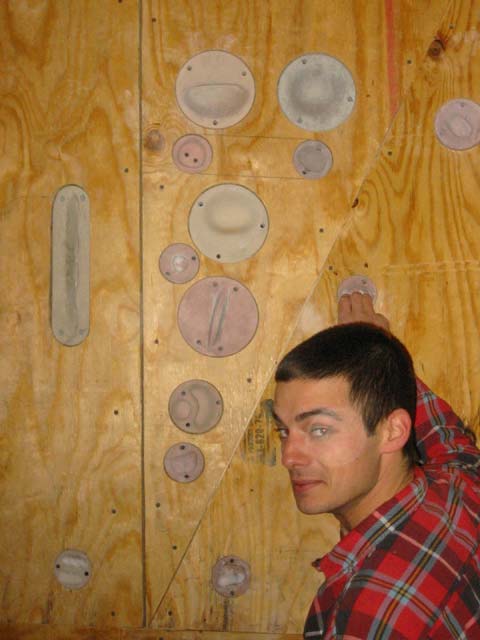
| Instead of needing one backing plate for each hold, you can use a larger scrap of plywood which can serve as the backing plate for several insets.
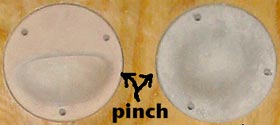
We reccomend clustering insets close together so you can use 2 of them as pinches |
|||||||||||||||||||||||||||||||||
 |
|||||||||||||||||||||||||||||||||
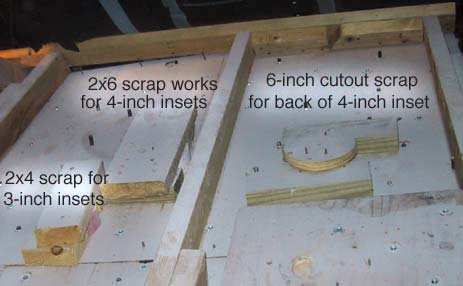
| Backing plates don't have to be plywood. If you just want to an a few insets you can use scrap pieces of 2x4's as the backing plate for 3-inchers and 2x6's as the backing plate for 4-inchers. | |||||||||||||||||||||||||||||||||
 |
|||||||||||||||||||||||||||||||||
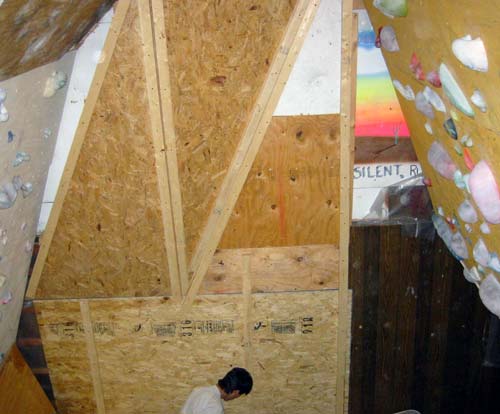
| An inset wall is really best without any bolt-on holds. If you want to make an entire wall with insets or convert an existing wall, screw an entire sheet of plywood on front of your wall with a few 2x4's as spacers. With this system, everywhere you drill with the hole saw is a place you can fit an inset. Swiss cheese your wall with pockets everywhere! Below - we build an inset wall from scratch. | |||||||||||||||||||||||||||||||||
 |
|||||||||||||||||||||||||||||||||
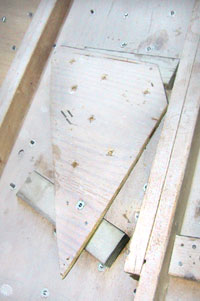
| Layer 1: OSB and scrap plywood form the "backing plate" that the insets will screw on to. Wall is mostly vertical with a slightly overhanging feature. | |||||||||||||||||||||||||||||||||
 |
|||||||||||||||||||||||||||||||||
| 2x3's are screwed onto the lower layer of plywood and OSB to provide the proper depth for the insets when you add the second layer of 3/4 inch plywood. | |||||||||||||||||||||||||||||||||
 |
|||||||||||||||||||||||||||||||||
| After the top layer of plywood is screwed on to the 2x3 spacers all that's left to do is drill 3, 4, or 6 inch holes with hole saw and climb on the insets. | |||||||||||||||||||||||||||||||||
| See what it's like to climb on this thing >>>>> | |||||||||||||||||||||||||||||||||
